
Holy-by-hole course description

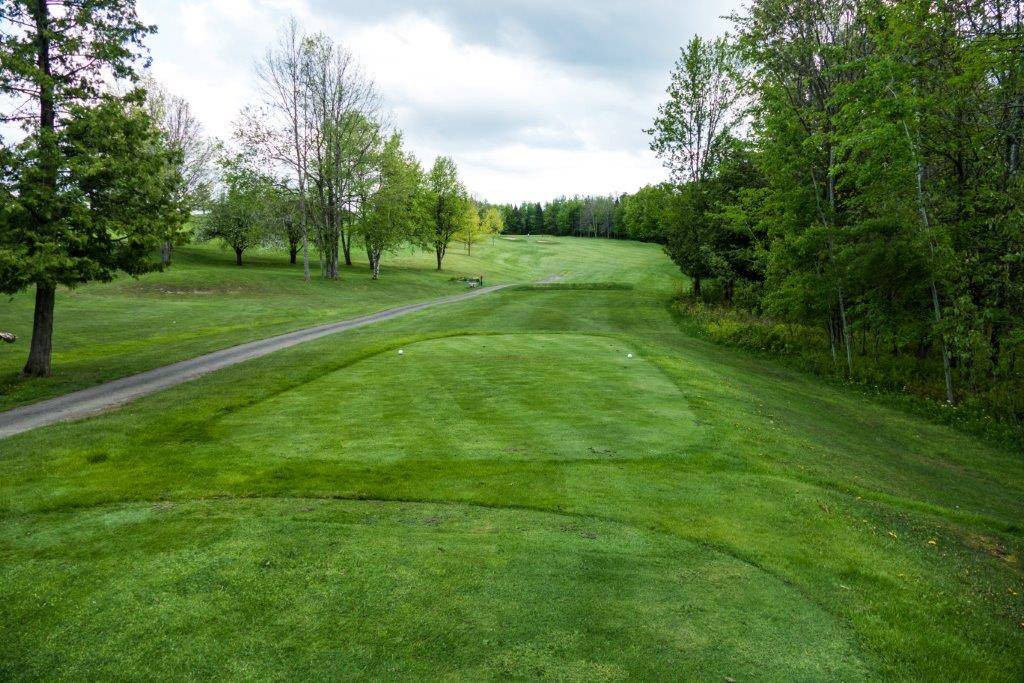


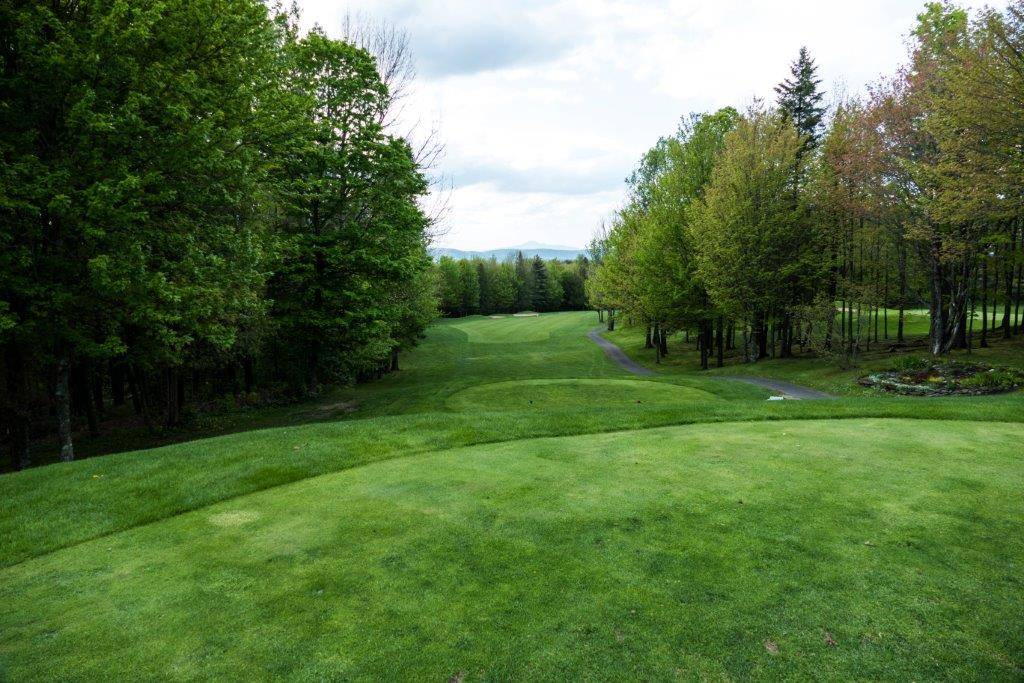
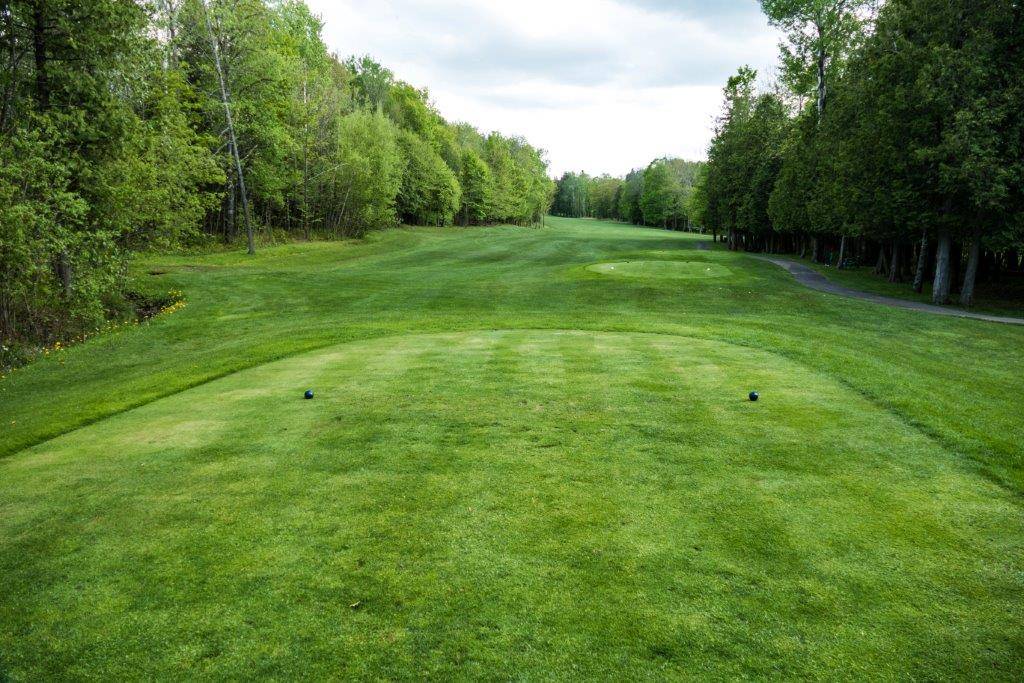
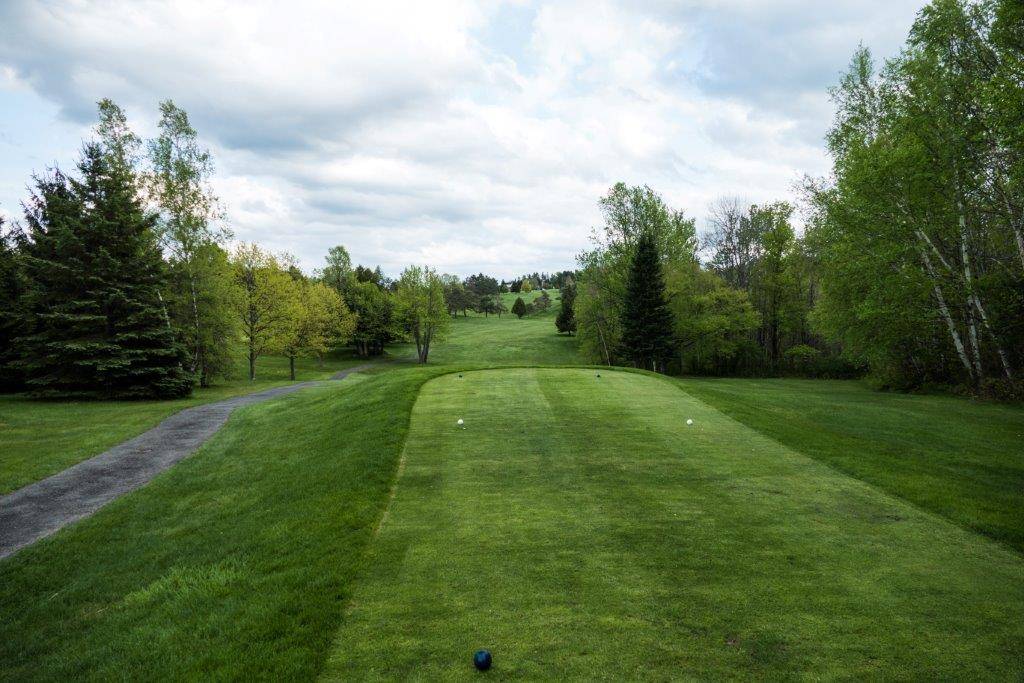
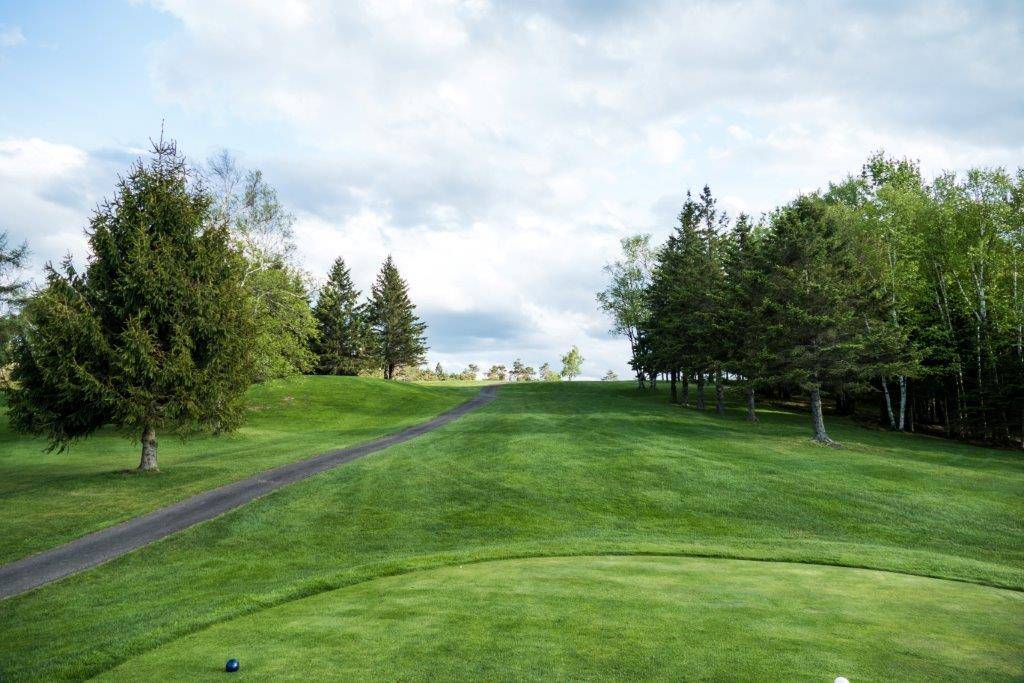
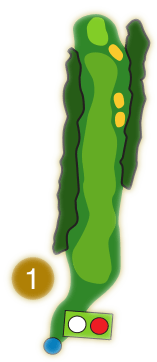
A long downhill par 5 with a wide and inviting fairway. Keep your tee shot right of center to give yourself the best opportunity to hit the middle of the fairway on your second shot and a straightforward chip onto the green.

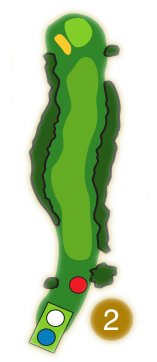
An easy par 5 when the winds are calm. Keep your tee shot on the left side of the fairway as it slopes to the right. A slightly uphill second shot should be kept a little left of center for the best angle into the green which has a narrow entry.

A short par 4 that long bombers can reach in 1. For everyone else, a short iron or a wedge should be plenty on your second shot, but you must be precise since the green is protected by bunkers on both sides.


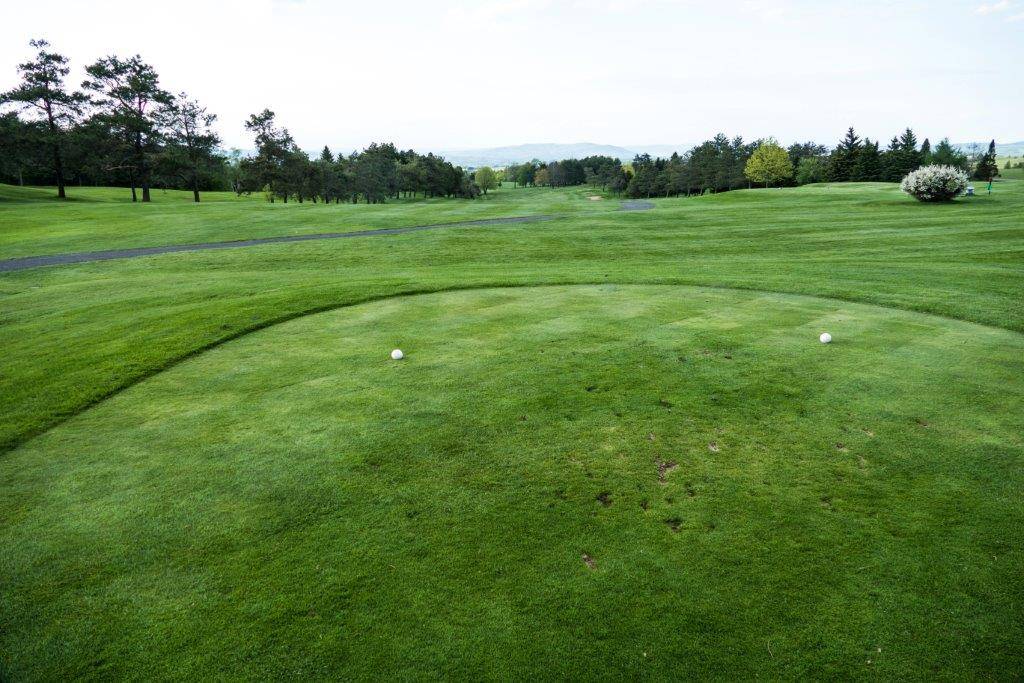
A unique par 3 with a green surrounded by a horseshoe-shaped ridge. Make sure your tee shot hits the green or is short because a miss on either side or long will leave you with a difficult chip.


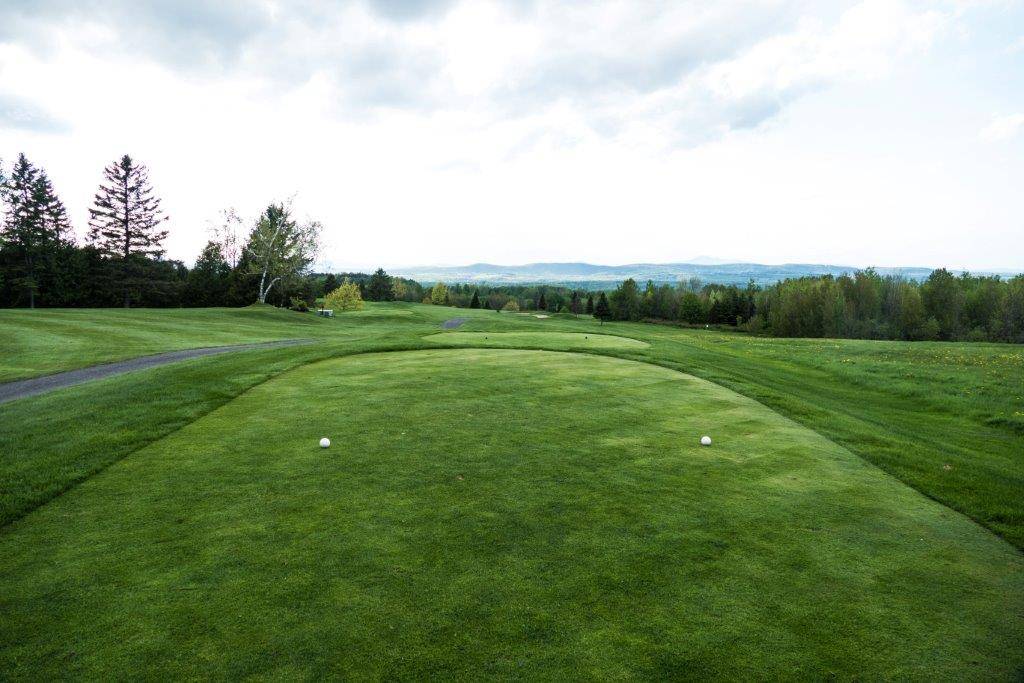
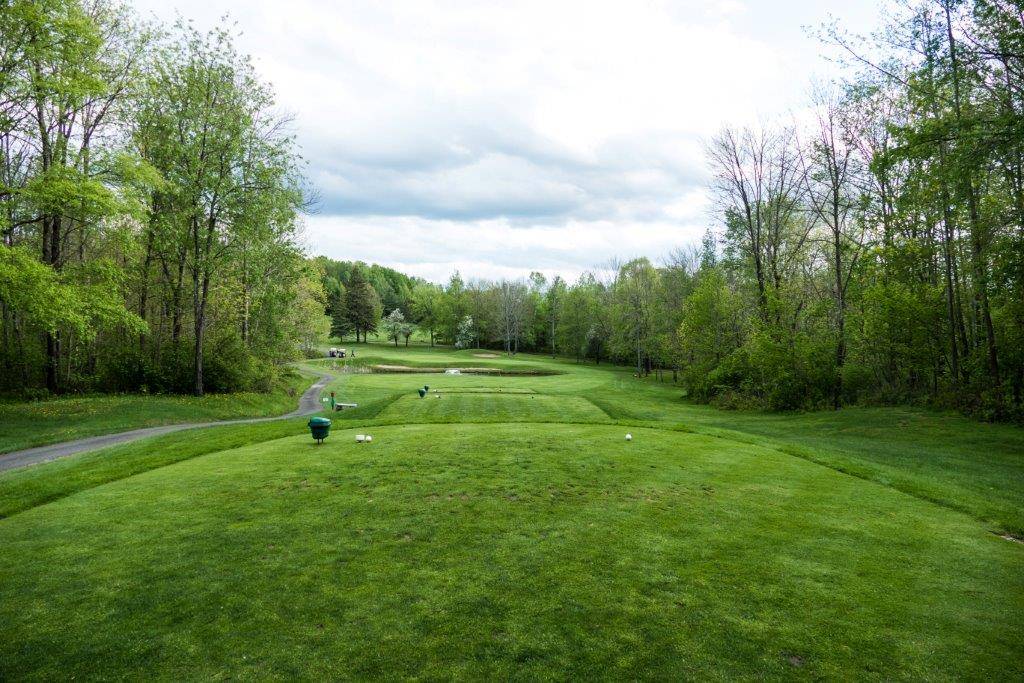
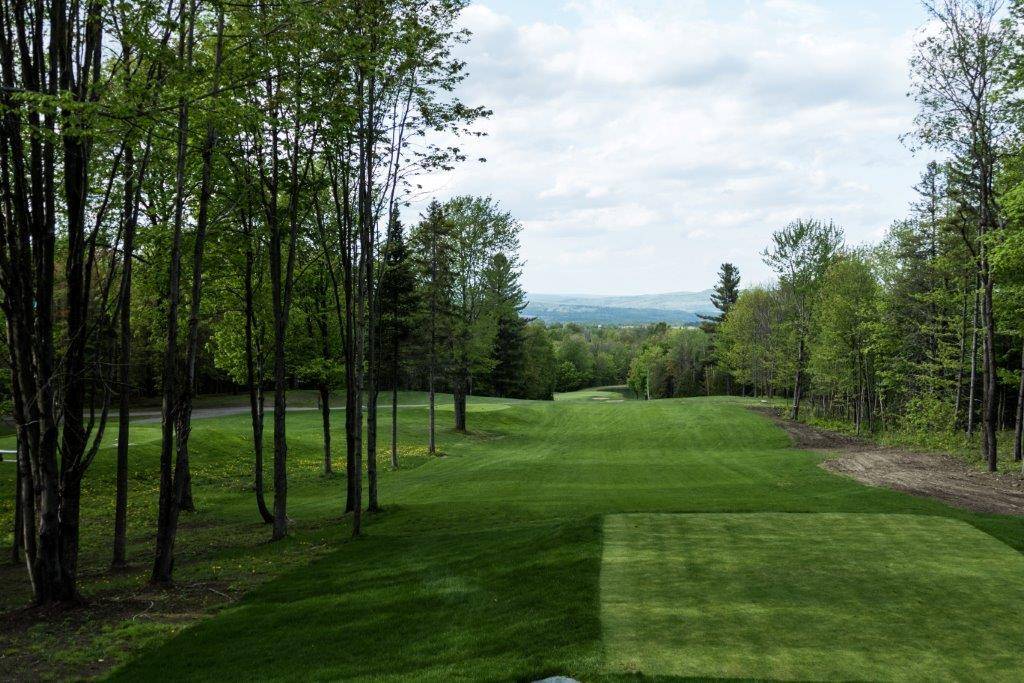
A downhill, dogleg-to-the-right par 5. Before hitting your tee shot enjoy the beautiful view of Lake Massawippi and Mount Orford! Keeping your tee shot in the fairway is important as the long rough will make your second shot very difficult. Leaving yourself a shot of 60-70 yards for your third is your best option as chipping from the gully in front of the green will test your skills. Off the tee, long hitters can try cutting the corner over the bunkers to have a short iron into the two-tiered green.


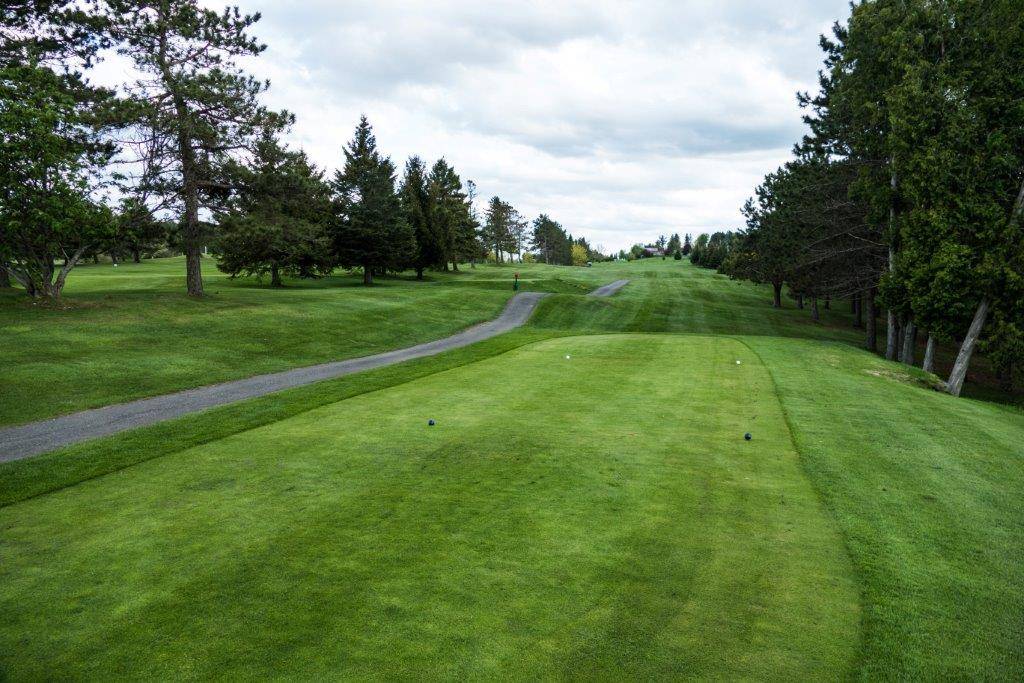
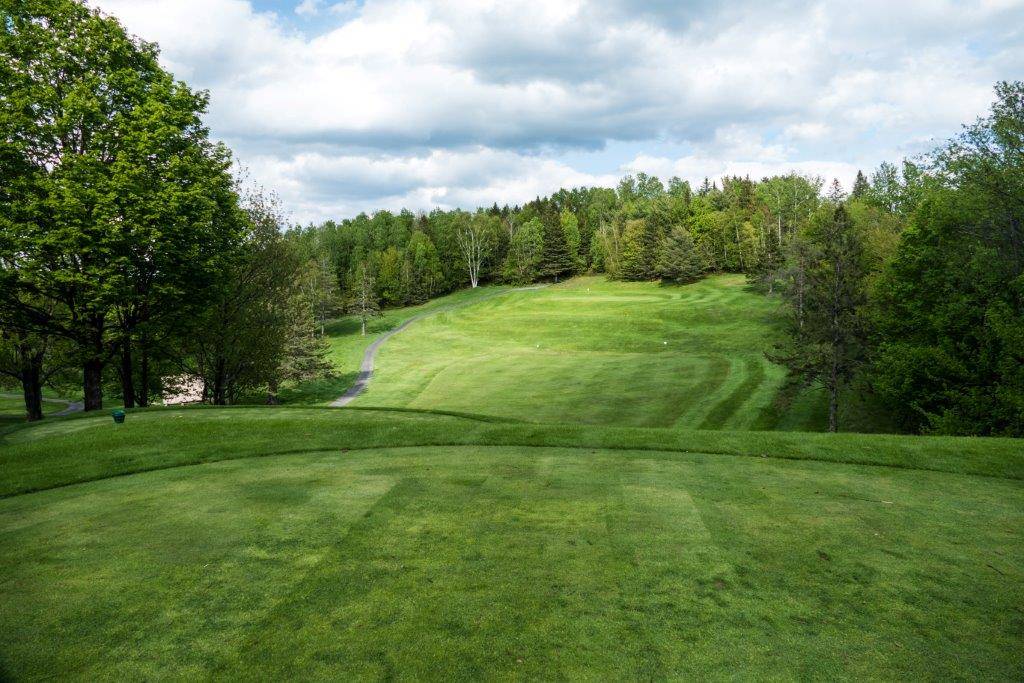
A short yet difficult uphill par 4. Tee shots to the left side of the fairway give you the best chance of getting onto this two-tiered green in regulation. Short shots leave a challenging chip and shots to the right leave you confronting a tricky bunker shot. Making sure you are on the same tier as the flag is imperative, otherwise a three-putt, or worse, is almost guaranteed.


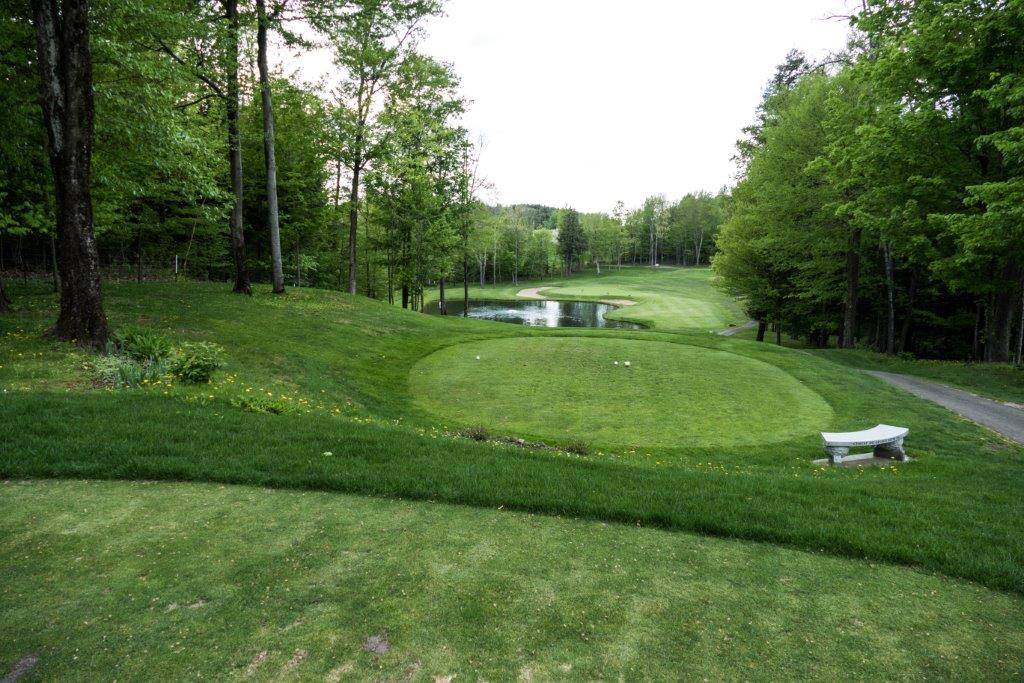
With water and a bunker guarding the front and a bunker guarding the back of the shallow green on this par 3, the tee shot will test your nerves and your knowledge of your club distances. Look at the top of the surrounding trees to get a good idea of the winds as you may not feel them on the tee box.


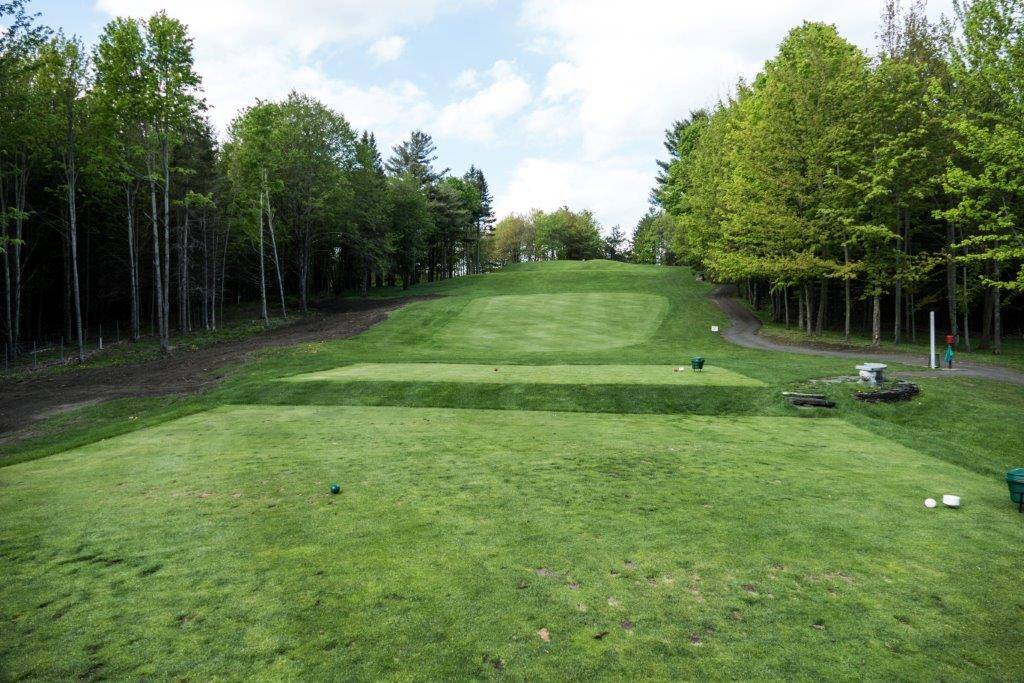
The toughest hole on the course, this long par 4 will challenge even single-digit handicappers. A straightforward tee shot will leave you a long uphill second shot to a green protected by bunkers both in front and behind. Walk off the green with a 4 and you’ve done well; walk off with a 3 and the PGA may be calling!


This par 3 of 173 yards requires a precise tee shot to a green cut into the side of a hill. Leaving it short or going long leaves a terrifying chip and you staring down a 4!


Our signature hole! On clear days enjoy the beautiful view of Lake Memphremagog, Owl’s Head and Jay Peak before hitting your tee shot down into a hollow. No need to be long but you must be in the fairway. Avoid the left side of the green and the deep bunker that protects it. Shots missing to the right will usually funnel down onto the green - definitely the safer play.


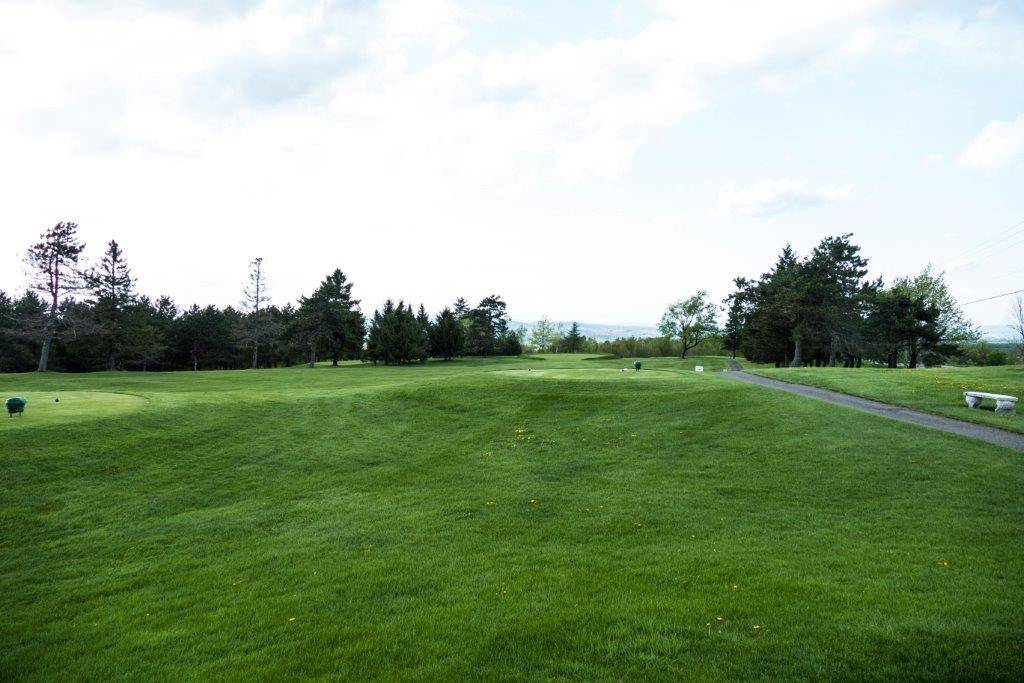
An uphill par 3 to an elevated green. The green is sloped from back to front so a tee shot short of the flag leaves you the best chance at a birdie. Being short or long of the green leaves a scary chip and a low probability of getting par.


A dogleg-right par 4 that requires a tee shot short of the bunkers; go over them and you’re reteeing. Trying to cut the corner by going over the trees is ill-advised but success will leave you with a wedge into a green that is severely sloped towards the front left corner.


Enjoying the view of Lake Massawippi and Mount Orford are a must here on this downhill par 5. Being cautious off the tee is a must as only the longest hitters can reach the green in 2 so no real need to grip it and rip it. Leaving yourself a wedge or short iron into the green is the best way to avoid the creek in front, the bunkers guarding the sides and the beautiful pond off the back.


A long downhill par 3 where swirling winds increase the level of difficulty of the tee shot so take enough club to make sure you clear the large pond and bunker. Going long is not a bad play as it will leave you with a relatively easy chip, which is always better than having to take a drop.


A short dogleg-left par 4. The narrow fairway is protected by two bunkers in the middle of the landing zone which makes club selection difficult. Do you take a driver and go over them for a short second shot or a wood or hybrid to keep it short of the bunkers but have a longer second shot. Both plays have their merits. Which one will you choose?


A nice par 5 with a large landing zone for the drive. The second shot will be slightly to the left and uphill. Getting it inside the 100 yard marker will make the third shot to this narrow two-tier green a little easier but still not a guaranteed GIR.


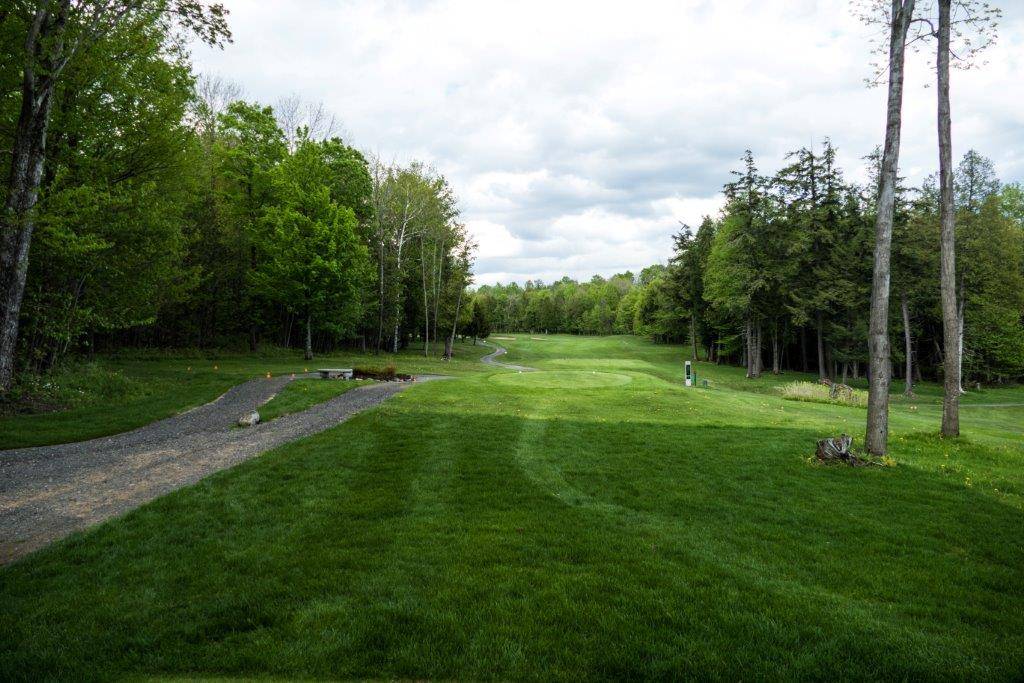
Looking behind this tee box you’ll see the fifth and sixth holes, as well as a familiar view of the stunning landscape. This short par 4 is definitely a birdie opportunity. A good drive to the center or left side of the fairway leads to a wedge shot into the green. The headwinds here can be surprising and can leave you scratching your head and wondering how you came up short.


Uphill par 4 that ends right beside the clubhouse. Even a good tee shot is not a guarantee of a flat lie. The undulations in the fairway make your second shot a little tougher and make sure to take an extra club to account for the rise and wind. Once you hole that last putt, look around and marvel at the beauty surrounding you and take pride in a job well-done.